Showing posts with label home. Show all posts

4.04.2017

DIY Faux Marble Coasters and Bowls

Hey y'all! It's been a while since I've had a DIY on here, so I thought I'd share one that takes 5 minutes to make and would look great at home: diy faux marble coasters and bowls!

You'll need--

polymer clay (I used white, black, and grey, but choose whatever colors you'd like...I've done this with neon colors too)

paint pen or nail polish

Mod Podge

Oven

Circle for tracing

Knife

Line up your clay colors. I broke the white into 4 pieces. I placed two white, one grey, one black, two white, and one grey next to each other. Then I twisted them together, like a snake, as pictured above. Keep twisting and rolling until you start to see a marble effect. The more you twist, the lighter the color of the marble will be.

Roll out into a sort of circle shape. Try to keep it even on all sides. Place your pattern (I used a coaster, haha) on top of the rolled out clay and cut around it with a knife. Remove the excess and reuse it desired. Bake according to package directions. Once cooled, seal with Mod Podge.


Add an extra touch to the edges with a metallic paint pen. I've also used nail polish for this too. You can also paint onto the clay--like try half marble, half painted. I've made these lots of times for others so many different ways!


Here's the finished piece! I was able to get two coasters from the amount of clay shown in the first pic. I used circles here for the demo since they are super easy, but I've made these in hexagons and squares, too.


I've also made bowls. I simply followed the same steps (I used more grey and black) and traced around a bowl as my pattern. I placed the clay inside of the bowl (I have also placed the bowl upside down and the clay on top). Then I placed the oven-safe bowl and clay inside the oven and followed directions to bake. I wouldn't use these for food, but they make great decor pieces. I also didn't mind the rawness of the edges.


Are you a fan of marble?

Extra Elle:
Still hanging in there--please be patient as I am slowly, slowly getting caught up on blogs and emails. I am feeling better!

1.27.2017

Life Lately: Getting Rid of It


At the end of next week I'll be out of town (more below) so I'll be skipping Life Lately then. Today will be an extra long LL instead!


DISNEY

I'm headed to the Magic Kingdom next weekend! Four months after my trip to Disneyland, I decided to have one last trip to Walt Disney World. In case you missed the news here, due to my job ending this fall, this will probably be my last Disney trip for a while. If you're into a ton of pics and video, be sure to follow me on Instagram and Snapchat (ellesees on both). 


SKIP IT

And for those that follow me on social media, you might have seen this already, but I picked up the new Covergirl Eyebrow Shaper Mascara and didn't like it. It's a huge curved mascara wand but for your brows. TOO big for me. I say skip it. Link if interested here.


BEST BLANKET EVER

My parents bought all of us these Cannon Plush Sherpa Throw blankets from Kmart for Christmas. This is the best blanket I've ever had, if you like super soft ones, that is. And they're so warm. I've bought them for several people as gifts and they all are obsessed. I even bought another one for my house in a different color/size. But they are almost all gone online! I've even driven to Kmarts to find them, no dice, so they are down to two colors and one size. But they make me sleepy every time. And my pup Charlie likes them too. Link here.

GETTING RID OF IT

It was so rainy and blah over the weekend, so I went on a HUGE closet clean out, all donated. I donated tons of books (sniff, sniff) and other things I wasn't using anymore as well. Thanks to my lifestyle change (more on that here), I am in between sizes in clothes. I went through everything and organized it all by sizes. And then I organized my short sleeve shirts by color, but gave up on that once I got to my long sleeves and sweaters. Another day for that one!

MAKEUP 

I went through my makeup drawers as well and got rid of a lot. I do this monthly, but this was a deep clean out. It was tough since some things I keep to compare to other products, for example. I also cleaned my brushes--still have a bunch to go, but I cleaned around 100. Maybe more. I was delirious at the end, haha.


#ELLEMADEMEBUYIT

On Hannah's Snapchat I saw this pic and had to screen shot it! It made my day!! It means a lot when someone values my opinion on beauty products. Sponsored or not, if I tell you I love something, I DO!

Have a great weekend!!

12.16.2016

60+ DIY Ideas For Bath, Body, Home


There are only a few days until Christmas, y'all. And I know there are some of you out there who need to bookmark (or Pin!) this post for those last minute/I-totally-forgot-to-get-her-a-gift scenarios.

Over the 6 years I've been blogging at Elle Sees, I've shared with you for FREE around 200 DIY ideas. It's been a fun walk through memory lane--let's not even talk about how awful my pictures used to be!

Many of these recipes have been published in magazines and online, like Buzzfeed and PopSugar. All of them subscribe to my diy philosophy of easy, fast, and inexpensive. Let me know which one of these you'd try:


Sugar Scrubs, Salt Scrubs

Orange Crush Salt Scrub (love this on hands)

Birthday Cake Sugar Scrub

Lemonade Mint Sugar Scrub

Sno-Cones Sugar Scrubs

Coconut Lime Sugar Scrub

Salt Shaving Scrub (use this to exfoliate prior to shaving)


Peppermint Mocha Sugar Scrub (pictured above)


Bath Salts, Solid Perfume, Body Butters


Bath Bombs


Shower Fizzing Bath Bombs (great for when you're sick)


Funfetti Bath Bombs (confetti inside)


Lip Products

DIY Solid Lip Scrub (just like ELF, but you can make this for FREE)

DIY Lip Butters (inspired by Nivea)

DIY Santa's Lip Scrub (just like Lush)


Solid Lotion Bars


These don't get as many views when I post on them, but they're awesome! And I've made marshmallow and chocolate lotion bars on there as well.

Solid Sugar Scrubs


DIY Sprays


DIY Shower Jellies


DIY Candles


DIY Home Crafts


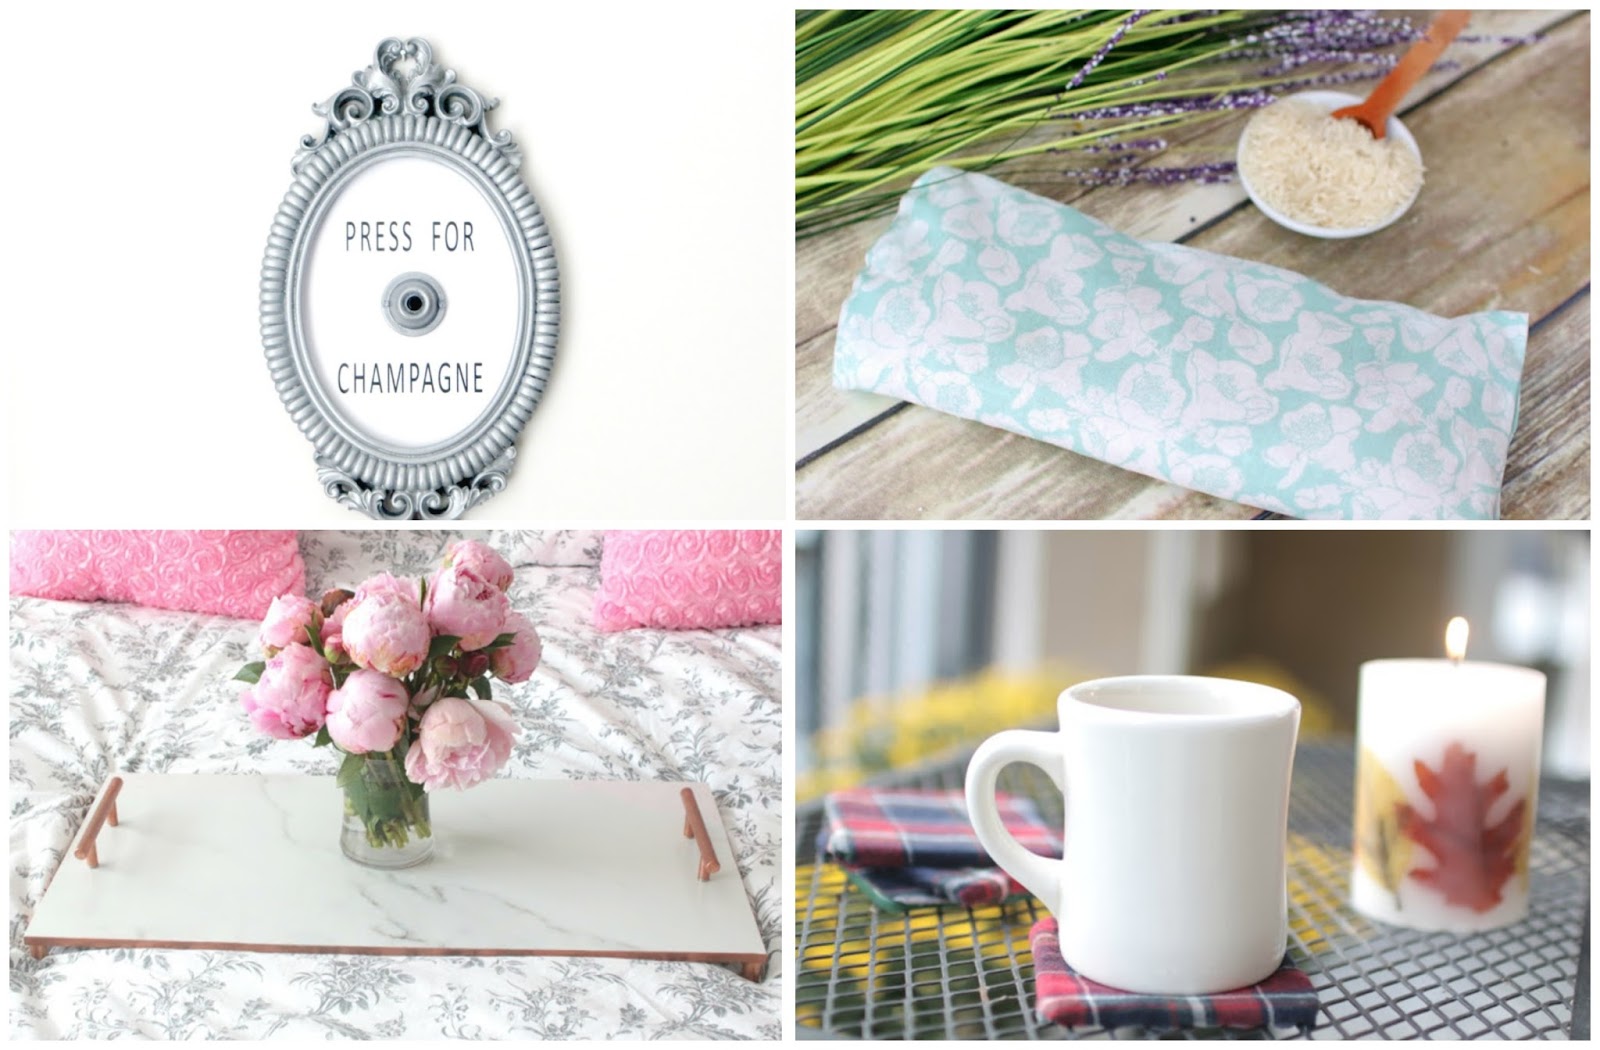
DIY Flannel Coasters

Want more? I have nearly 200 ideas (including face masks, hair treatments, and MORE)--just click the DIY tab at the top of your browser.

And here's a video of everything (plus some bonuses):


Which ones did you like the best?


Extra Elle:
I went to an Ugly Sweater party--I was the only one who wore an ugly sweater. You can only laugh, right? The funnier thing is that this is the second time this has happened!

Neutrogena giveaway--THREE WINNERS


$100 Gift card giveaway


7.08.2016

Copper Marble Tray DIY

rose gold tray diy

Sometimes good things come to those who wait. In early 2015, I started making these marble trays for my friends and family, and even using them for blog backgrounds. Last week, several of you noticed one of the trays in a pic (finally!) and asked for a tutorial! It made my day, y'all!


As is typical with my craft DIY ideas, I'll see something for sale online that's ridiculously priced and will make it myself (like my Press for Champagne or these bracelets). I get this from my late Great Granny Sugar who always encouraged me to make something I wanted myself. Such is the case here. Look at how much these cost:

$290! $187! Forget it. My version can be made for under $20--even cheaper if you don't have to paint anything. While I've made these in different ways, today I am recreating the one in my Instagram pic that was requested. Here's how to make it:

diy marble tray


You'll need:
  • marble slab/marble tile/something that looks marble--I used a porcelain tile here that was 12x24
  • 2 drawer pulls
  • 4 copper caps
  • Epoxy
  • E600
  • Ruler, marker
  • Optional: copper spray paint, copper leaf pen, felt, copper caps
    • You can purchase these items at a hardware store or online.
copper pulls rose gold


Spray paint (if needed) drawer/cabinet pulls in a well-ventilated area. Allow to dry fully.

e6ooo
While those are drying, attach tray feet to bottom of tray. I used E6000. Use whatever you would like for the feet. I wanted some height on this tray so my feet are raised. You can attached a copper cap or felt, so it won't scratch the surface of whatever your tray is resting on.

diy marble tray


Using a ruler, mark where you'd like the handles to go. In a very well-ventilated area, mix and apply the expoxy to the handles to attach them. Let it set for an hour. I prefer overnight just to be sure.

marble copper tray diy pineapple
As an extra step, use the copper leafing pen to fill in the edges, as seen in the pic above, and demonstrated in the video below. This dries in about 10 minutes. And that's it! By the way, the pineapple was inspired by one that was $185. I got this one for $14.99 at Target (it's a candle) and painted it copper.

marble copper tray diy

I am obsessed with trays--I'm dead serious--I collect them. I even put trays on my trays. I use them for all sorts of things and as mentioned in the beginning, they make fab gifts.

marble copper tray diy coffe cup missoni peony

I want to note that while I figured this diy tray out on my own, there are plenty of other tutorials out there that make them in different ways. Now, who wouldn't love some morning coffee on a tray like this?

marble copper tray diy
Charlie wants you to watch the video below I made--it's only 3 minutes! Look at that face!! He makes at cameo at the end. Check it out below:


Do you DIY?

Extra Elle:
  • I finally found peonies at Trader Joes and bought them out--some of them are in the top pic of this post. They're my fave.
  • Short work today for me. I can get used to these holiday short work weeks! Have a great weekend!

12.16.2015

My Fave Gift To Give (Plus a Peek At My Holiday Decorations)

This year was tough. I've experienced a few losses and lots of sadness. I don't feel like my regular self yet, but I think recognizing it means that things are getting better. I know next year will be amazing!

When someone else is going through something tough, I always recommend self-care and give them my favorite gift. And this time, I'm taking my own advice.

I got my house cleaned. It is my favorite gift to give! Seriously.

It is the BEST feeling coming home to a clean house. I've given this gift to new parents, friends going through a tough time (loss, divorce, depression, an illness), and just because. It is always a hit. I can't recommend it enough.

I had the chance to try Well Kept, an Atlanta-based cleaning service. I loved it so much, I had to share it (no, this is not sponsored) and share my experience. I had my place cleaned before my annual Christmas party.

Think of them as the Uber of cleaning. You simply go to the site and click what services you'd like. Maybe a room or your whole house? Cleanup after a party? It's $15 a room. Add extras--I chose an oven cleaning because mine hasn't been cleaned since...ever. Choose the date and time--they only need 48 hours! No contracts, no in-home estimates, just a clean house.

So Melvin and Leonarda (I HIGHLY recommend them--ask for them!) showed up with cleaning supplies--you can give them specific products to use if desired. I chose to stay and wrap presents in the spare bedroom while they cleaned, but you don't have to be home. They were courteous and professional.

When they were finished, I couldn't believe how great it looked! It made me so happy. Everything was sparkling, like I'd just moved in. That sounds like an exaggeration, but you had to see it! I loved how everything looked. Let me just show a few pics already (this was a few days after they cleaned).


I'm a really private person, so I am just sharing bits and pieces of my place. Excuse the mess and any bad lighting. This is real life, y'all. Here's my bathroom--look how shiny my sink is!

Here's the kitchen--again, it's SPARKLING! But this is real life, y'all, complete with lots and lots of art from the kids in my life on the fridge and a box of grits next to the stove. I am in love with my bouquet, too.

Here's a snippet of my living room, including my tree. It's full of ornaments from my travels. I've shared a few of them on my Snapchat (ellesees). Charlie likes to sleep under the tree, so there's space for him always. I realized I had unwrapped Christmas presents sitting out, so I had to throw a jacket over them at the last second. ;)

I also collect nativity scenes from my travels, like Italy, Germany, and Mexico. I have lots of other Christmas decorations, like on the mantle, as well as my menorah, but instead of boring you with all of that, I'll share just one more pic:

Charlie! He is such a cutie.

If you live in the Atlanta area, I can't recommend Well Kept enough (coming soon to other cities). 
I was very happy with my cleaning and can't wait to use them again.

Extra Elle:
  • When walking Charlie over the weekend, I noticed they were having Lion King auditions by my house. I had to resist the urge to hold him up like Simba!
  • I'm a sucker for a red lipstick. I got the new one from Dita Von Teese. Review coming soon. It's perfect for the holidays.
  • It's been nothing but sparkly nails for me lately. If only the weather was a little cooler around here.

9.04.2015

Over 20 Ideas for Empty Candle Jars!

This shop has been compensated by Collective Bias, Inc. and its advertiser. All opinions are mine alone. #LoveAmericanHome #CollectiveBias


Fellow candle fanatics, this post is for us! Do you switch up your candles for the season? I've mentioned it many times on here that I do. And since fall is around the corner, I headed to Walmart to stock up. I was immediately drawn to the American Home™ by Yankee Candle® brand candles display in the Home and Candle section:


I checked out all of the fragrances (of course!), and here's what I brought home with me:


These are a few different styles and sizes, but I bought the 12 oz. candles in Shades of Fall, Pumpkin Apple Harvest, and Banana Walnut Bread for $10.93. Remember to use candles with caution.


And I picked up this 2 oz. jar candle in Fresh Apple for $10.93. My house smells kind of amazing right now! But what to do with the empty candle jars at the end of the season? I've got a bunch of ideas to reuse them. First, I will freeze them for a few hours once I have burned the candle up. The remaining wax and cotton wicks will pop right out. Then I wipe out the inside and peel away the label. I wash and dry the jar and then it's ready to reuse! Check out over 20 ideas for empty candle jars:


Storage For Bathroom:
  • cotton balls
  • cotton swabs
  • cotton squares or pads
  • toothbrush and toothpaste
  • small jewelry--great way to keep rings from getting lost


Beauty Storage:
  • makeup brushes
  • lipglosses, lip sticks, lip crayons, lip balms
  • bath bombs
  • bath salts (mine are the purple ones pictured below)
  • nail polishes
  • manicure kit
  • bobby pins
  • hair ties
  • beauty samples


More Storage Ideas

  • candy
  • markers
  • craft supplies
  • crayons
  • dog treats
  • coins


Decorative Display:

I chose to take one of the empty tumblers and made an etched monogram:


DIY Etched Tumbler:

  • Using a clean, empty candle jar, place your letter/monogram/picture inside.
  • Take an etching cream purchased from the craft store and a small paintbrush and outline and fill in the letter on the outside of the jar/tumbler. Pictured.
  • Allow cream to set for 5 minutes and then rinse away. Be sure to follow directions and use precautions as printed on the etching cream's packaging.
Let me know your favorite candle fragrance or storage idea!

7.20.2015

My Go-To Recipe for Beauty Inside & Out

You love beauty products that make your skin look great on the outside but what about looking great via what you put inside? Look no further--you've got BOTH today. And you can find everything at Publix. They feature Allure winning beauty products from brands you love and trust like St. Ives--you'll be sure to find what you need to address any beauty concern. Combine them with healthy foods to create a beauty regimen and you will have a great recipe that will benefit you from the inside and out. My fave food and beauty combo involves Mandarin oranges--via a fab body wash and a tasty salad. Post Sponsored by Lunchbox. All opinions are 100% my own.


First up--the outside. Get your skin soft and smooth with St. Ives Even & Bright Pink Lemon & Mandarin Orange Body Wash. This smells incredible and invigorating. Plus, it exfoliates to polish away those little imperfections--it's made with 100% natural exfoliants and is paraben-free. 


And now, the inside. Let's get your skin glowing and amazing with this yummy Salmon + Mandarin Orange Salad. Feel free to modify this for your tastes. It's effortless and you can make it for lunch tomorrow! EVERYTHING in here is good for you.


You'll Need:
  • Salmon
  • Spinach
  • Mandarin Oranges
  • Almonds 
  • Oil + Vinegar
  • Optional: Goat Cheese Crumbles, Salt + Pepper

Place the spinach in a bowl--add as much as you want--and then begin the dressing. Squeeze some of the Mandarin oranges and mix in a little olive oil and vinegar. Add a dash of salt, pepper, and olive oil to the salmon and then grill it until done--around 3 minute per side. For some crunch, throw in a small handful of silvered almonds. For sweetness add some Mandarin orange slices, and finish with a few crumbles of goat cheese.


And that's it! Now your skin is ready to be tremendous, inside and out! When you like the Discover More in Store Facebook Page you can find their recommended beauty product and food combinations that to keep you looking and feeling beautiful inside and out! And by visiting, you'll keep up to date on the latest offers at Publix and awesome beauty tips all year long.


What’s your favorite beauty product and food combination? 

Share your answer as a reply on the Discover More In Store Facebook Page post for a chance to win a $50 Publix gift card! 


Extra Elle:
  • Fastest weekend ever--some of my family came up to visit the aquarium. I joined them and saw my nephew (the oldest one) and my 4 month old niece (the youngest one). My nephew had such a good time. Then I went a pool party--so much fun until the rain started. Rain=late afternoon nap. Woke up and it was dark. Yikes! How was your weekend?
  • Follow me on Snapchat--I'm ellesees on there--I promise I'll add you back. :)

Disclaimer:

All products mentioned are purchased by me unless stated.
All pics, thoughts, etc, are mine unless otherwise noted. Publishing or redistributing any content from this blog is strictly prohibited. Please seek permission first. Thank you.


Related Posts Plugin for WordPress, Blogger...